Create Recovery Environment with AOMEI Backupper (5 Steps)
The "Recovery Environment" in AOMEI Backupper is a tool to help you create a recovery environment with AOMEI Backupper. With the Recovery Environment tool, you can easily perform system backup restore or other backups restore operations when the system crashes.
Once the recovery environment is created and enabled, the "AOMEI Backupper Recovery Environment" option will be added to the system boot menu page so that you can select to start the system from the recovery environment to restore images created by AOMEI Backupper.
How to create recovery environment with AOMEI Backupper
1. Download this software and install it on your computer. Click "Tools" in the left tab, and then select the "Recovery Environment" tool under "Common Tools".

Then, it will enter into the page of recovery environment settings.
2. Enable the boot option of AOMEI Backupper recovery environment.
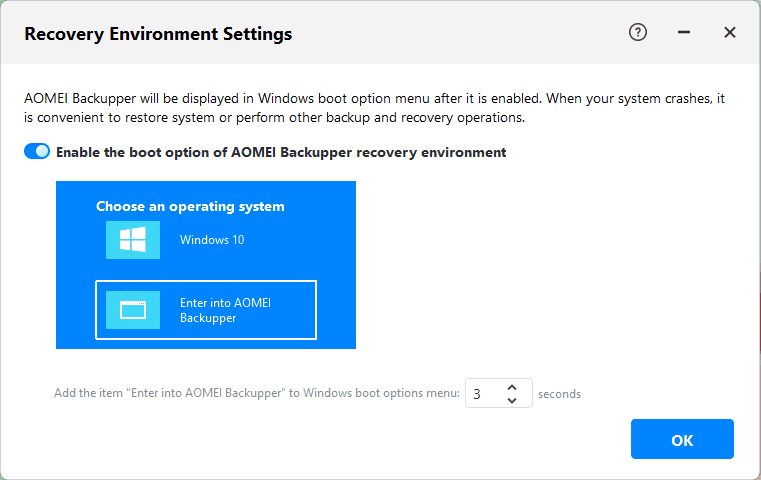
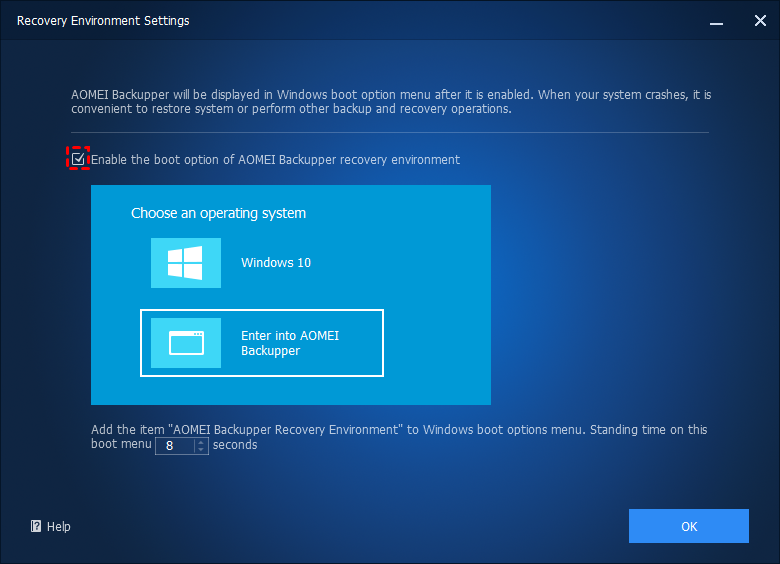
In the "Recovery Environment Settings" page, please tick the option "Enable the boot option of AOMEI Backupper recovery environment" to enable the boot menu option of AOMEI Backupper recovery environment.
After ticking, the "AOMEI Backupper Recovery Environment" option will be added to the system boot menu page, so that you can select to start the system from the recovery environment.
3. Set the standing time of the system boot menu page.
After the recovery environment is enabled, you can also set the standing time for the selection page of the system boot menu to facilitate selection on this page. (At least 1 second is required.)
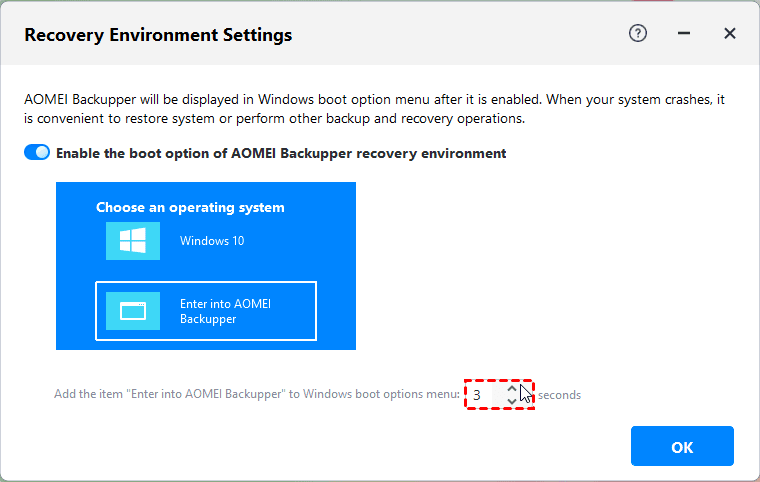
After the setting is complete, click "Next" in the lower right corner of the page to enter the page for creating a recovery environment.
4. After the recovery environment settings are set, a confirmation window will pop up. Please click "OK" to continue.

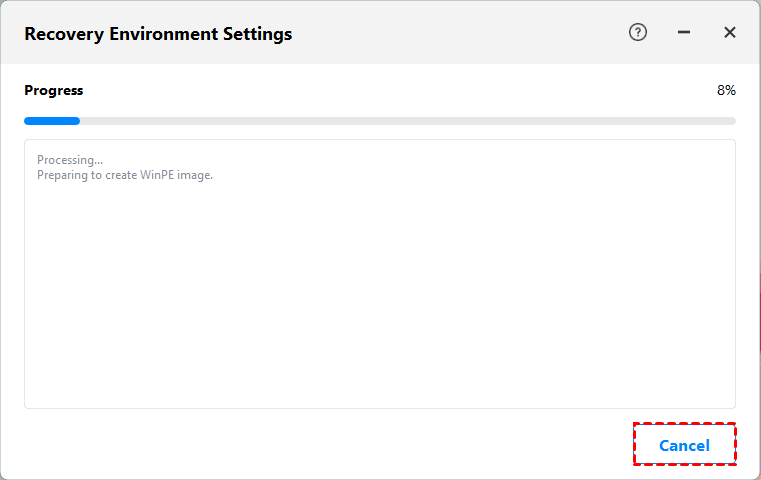
5. It will enter the page for creating the recovery environment. In this page, you can check the progress of creating the recovery environment and specific process information. You can click "Cancel" in the lower right corner to stop the process of creating a recovery environment.
After the creation is successful, the settings will be saved. The AOMEI Backupper system boot option will take effect the next time the system starts.
How to disable the recovery environment boot option
To disable the "AOMEI Backupper Recovery Environment" option in the system boot menu options page, you can just load AOMEI Backupper, click the "Recovery Environment" tool under the "Tools" tab, and then untick the option "Enable the boot option of AOMEI Backupper recovery environment" and Click "OK".
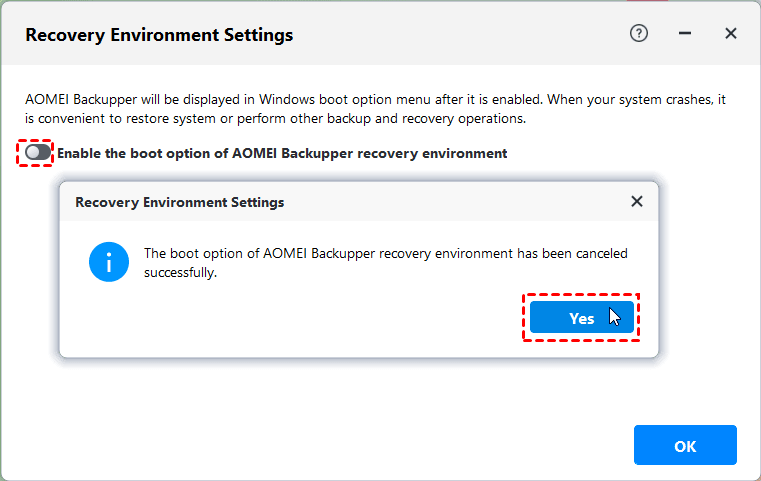
Then a confirmation window will pop up. Please click "OK" to disable the option.
Notes:
-
The tool currently does not support systems before Windows 7.
-
The tool currently does not support dynamic system.
-
After the software is automatically updated or registered, it is recommended to update the recovery environment.
-
When the loss of the recovery environment is detected, it is recommended to update the recovery environment to ensure that the recovery environment is available.
-
The recovery environment created by AOMEI Backupper is kept under the path C:\Aomei Recovery. If your C drive is wiped or damaged, please create a bootable media with AOMEI Backupper and then boot your PC to restore your image under WinPE.
Conclusion:
By creating an AOMEI recovery environment, you can choose to enter the AOMEI recovery environment to do a system restore when the computer boots up, so that the system restore operation can be done quickly and efficiently.
FAQs:
Q: After creating a recovery environment using AOMEI Backupper, I restarted my computer and found multiple blank boot entries when booting.
A: The problem is a BUG at present, we'll fix it later, you can press Win+R and then run "msconfig" to open the system configuration window and click on "boot" to remove these blank boot options